|
Intercooler Pump |
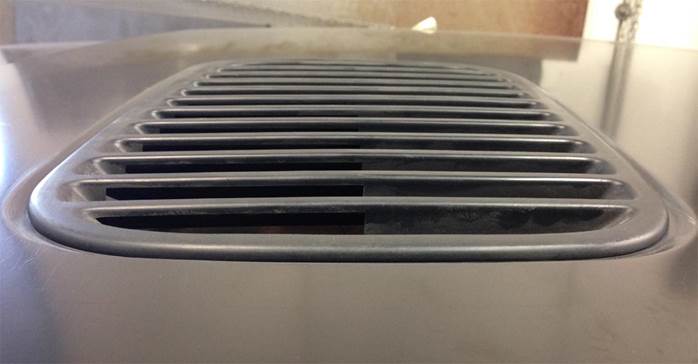
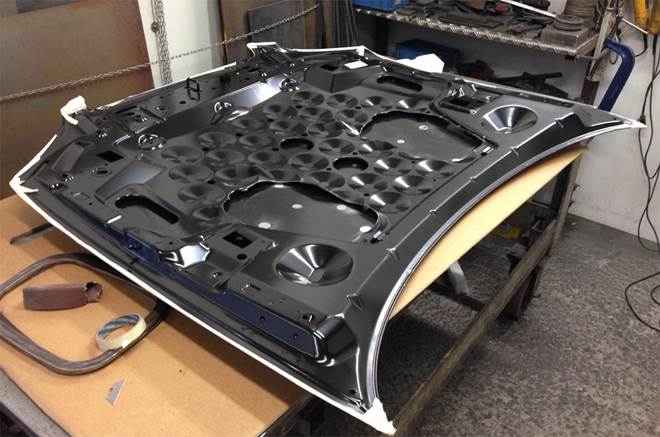
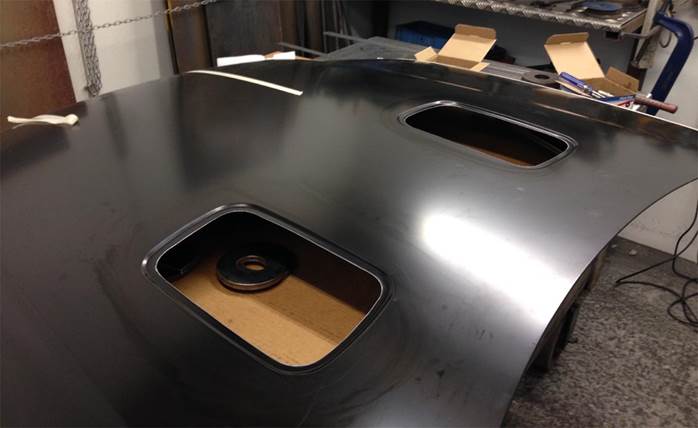
Lotus Carlton bonnet vents into VXR8 bonnet
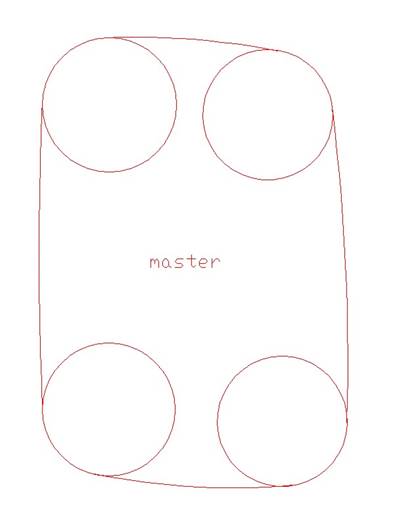
First job was to design the press tooling around
the profile of the
Lotus Vents.

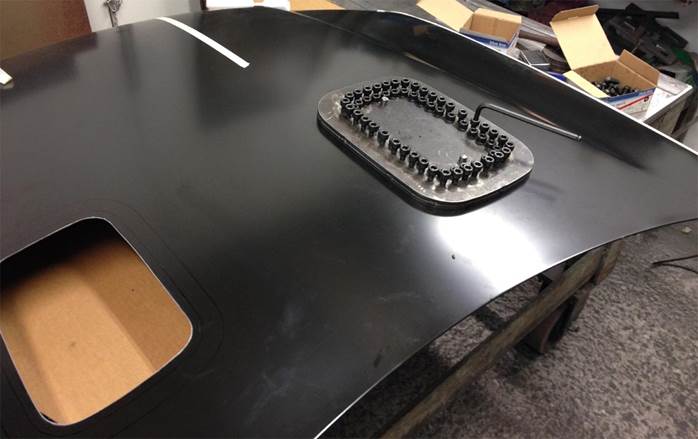
Cross section of press tools
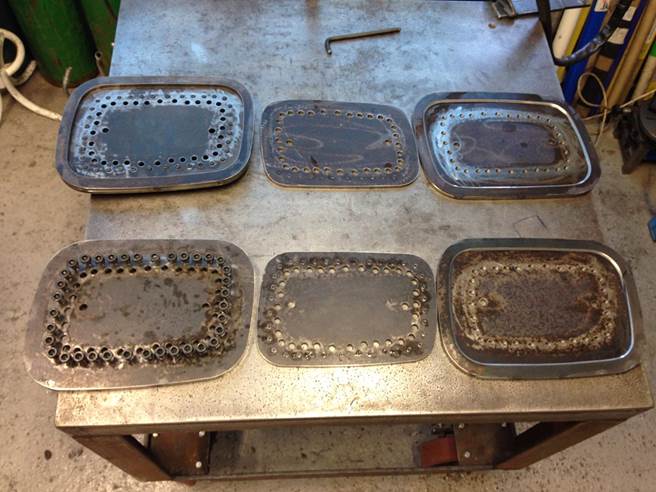
Press tools laser cut and drilled and tapped.

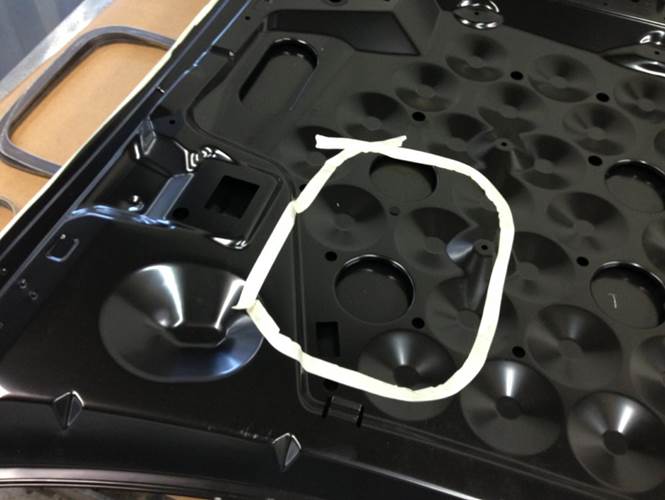
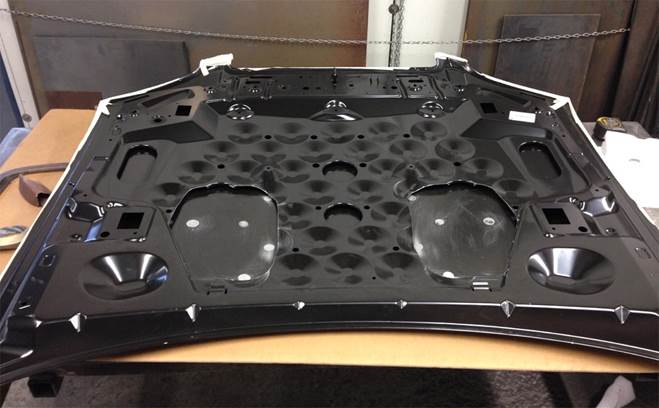
Roughly mark the inner skin as the placement is
more pre-defiined by this than where I’d like to
place
the vents from the
other side. The access has to be big enough from this side to allow the press
tool
to fit through and onto the outer
skin.
Start cutting
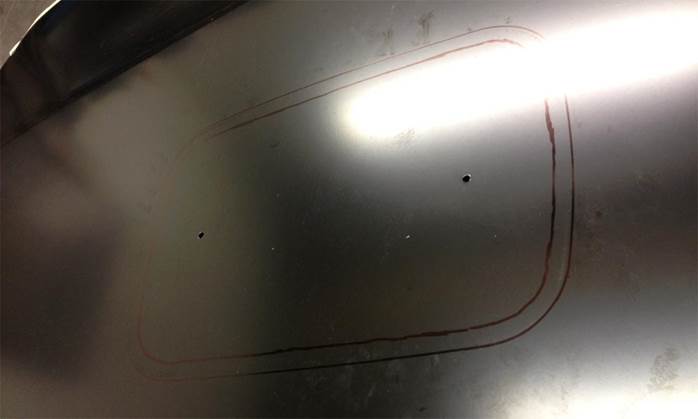
Mark the positions of the vents on outer skin
Start cutting ! (I like to use a 1mm thick abrasive cutting
disc)
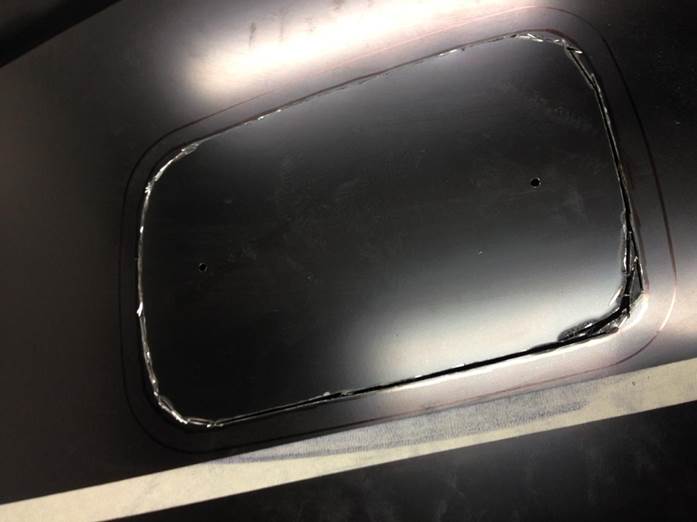
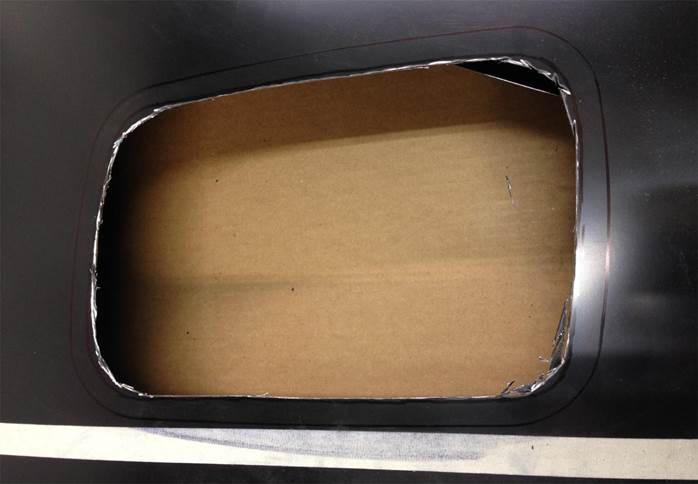
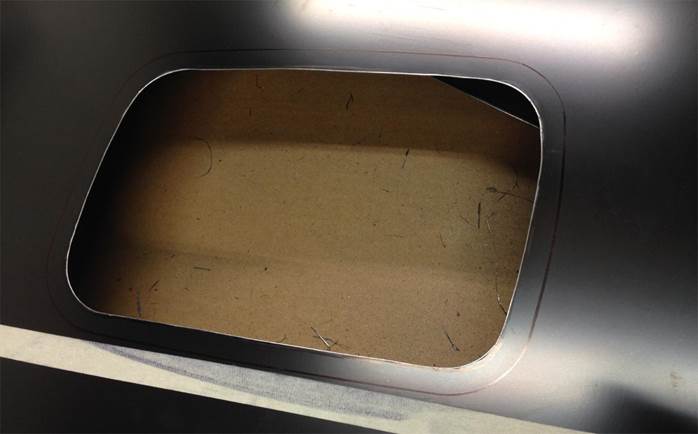
Clean up.
Note, this area of bonnet is very flimsy, the
thickness is only about 0.8mm thick !!
Place the tooling into position, tighten clamp
screws and then qtr turn each of the outer former press
screws one
at a time until they all begin to tighten up. Can take 15 minutes, but the
idea is to evenly force the former into the die.
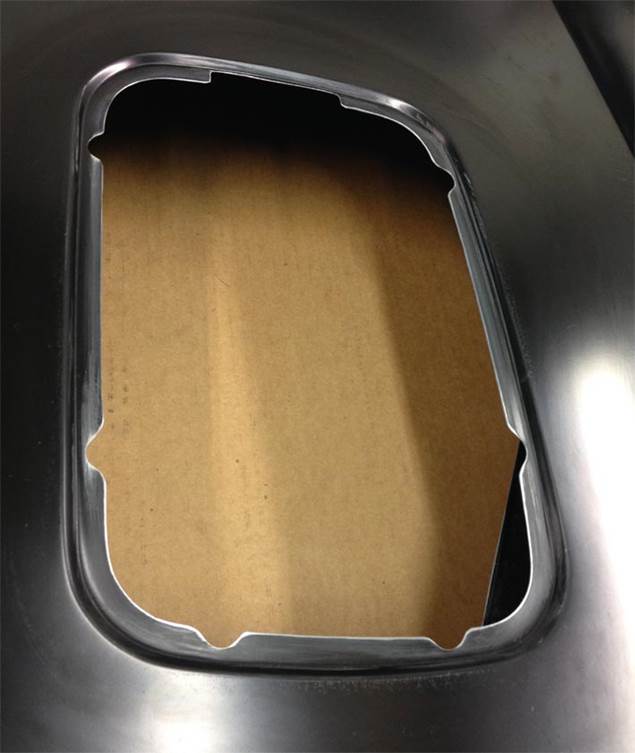
Grind the various reliefs for the vent tabs and
mount posts.
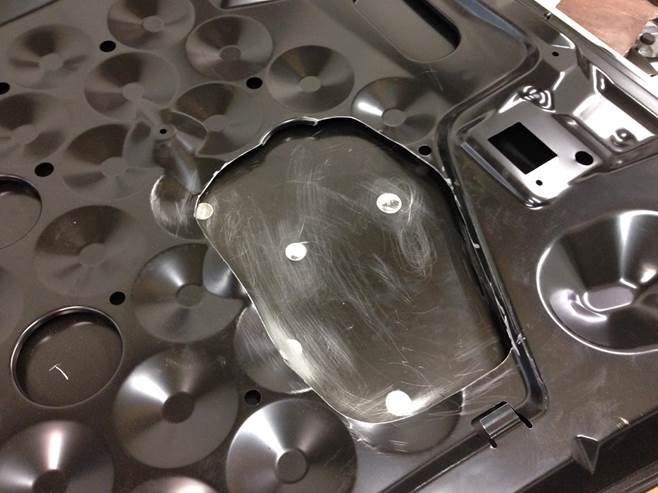
Check vent fit
Paint !
The gap between the skins around the appertures was closed using seam sealer, an attempt to
prevent
rain water getting between the skins, next was a couple of cans of waxoil